The free tool that turns any website into clean, per-section screenshots
ToolsUpdated AUG 27, 20263 min
Building a case study, a moodboard or a showreel usually starts the same way: screenshotting websites. Doing it by hand is slow, full-page captures come out huge and unusable, and half the time a section grabs before the fonts load or the animations settle. Section Screenshot handles all of that, and it's free.
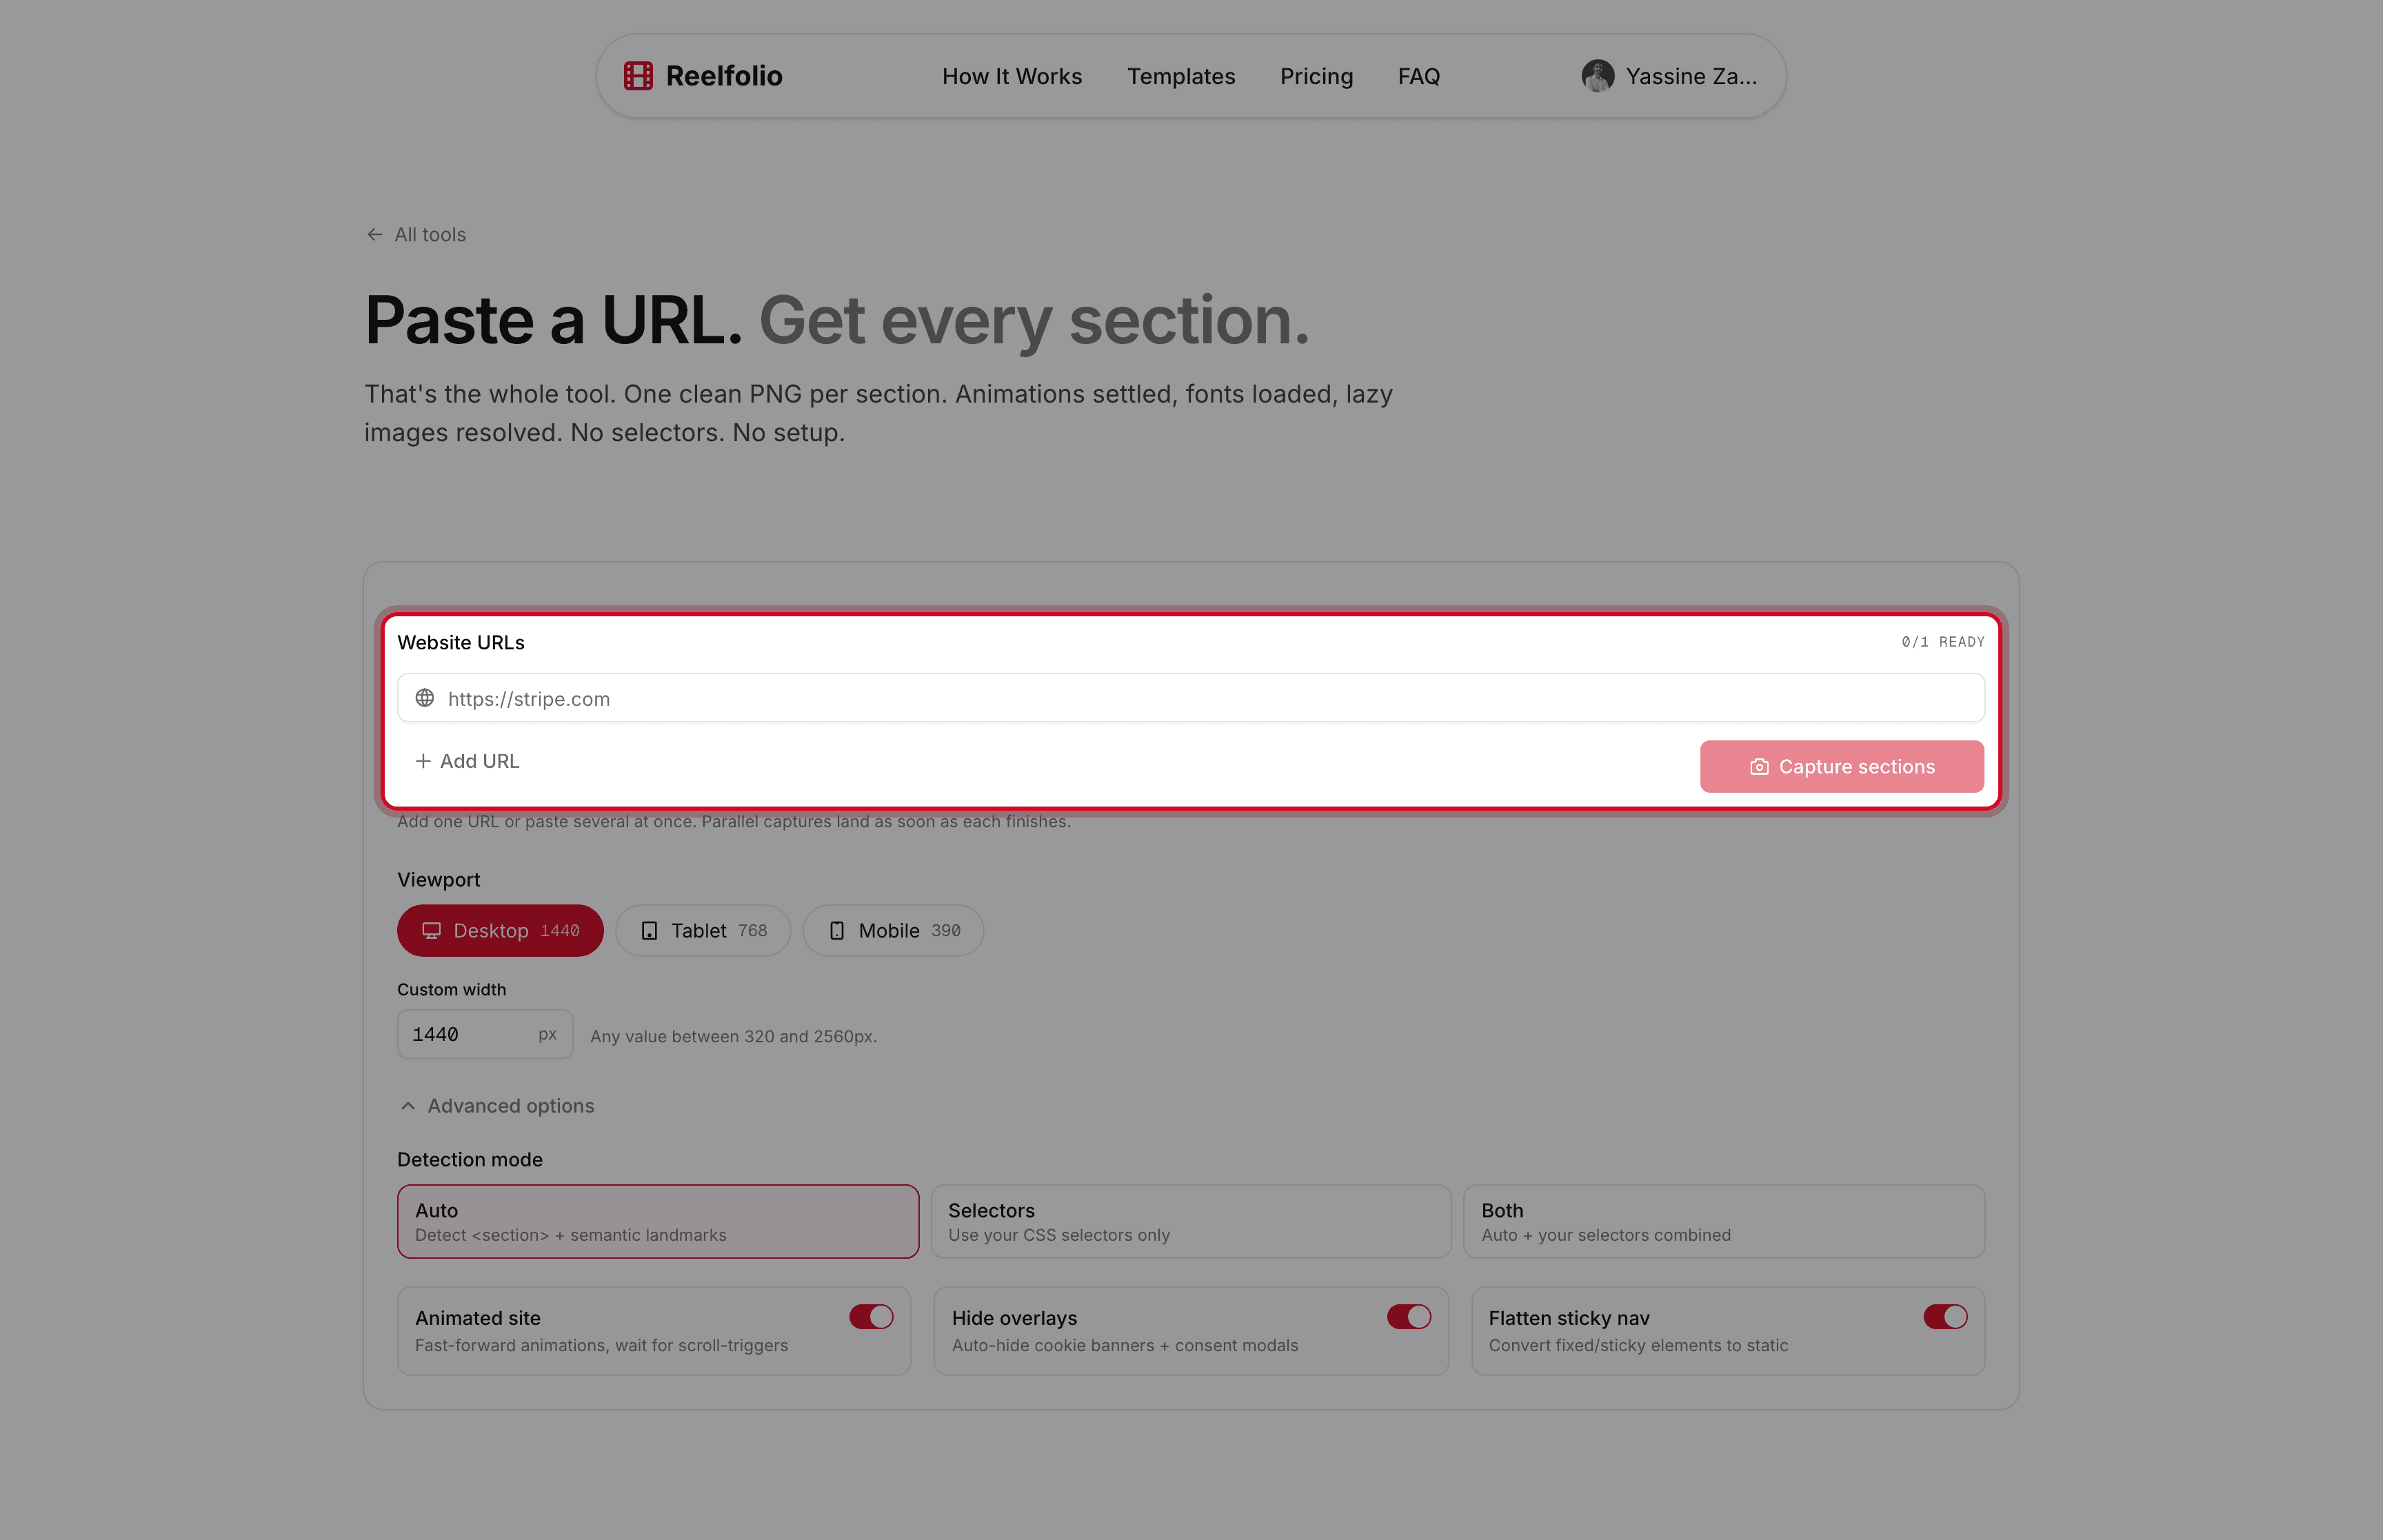
Paste a URL, get every section
Drop in any link and it captures each section of the page as its own clean image. It loads the fonts, resolves the lazy images and plays the scroll animations through to the end first, so nothing comes out half-rendered.
How it works, step by step
- 01Paste one URL, or a few. Each captures on its own, so one slow site never holds up the rest.
- 02Pick a capture width and, if you want, a crop ratio. The defaults are fine for most sites.
- 03Section Screenshot opens the page, loads the fonts, plays scroll animations through to their end, and waits for lazy images.
- 04It finds each section and captures it as its own image, grouped by website.
- 05Review the results, drop the sections you don't want, then download the rest as a zip.
One clean image per section, not one giant scroll
Most tools hand you one endless full-page screenshot. You can't drop it into a deck and you can't compare two of them side by side. Scroll the one below. That's a whole page in a single file.

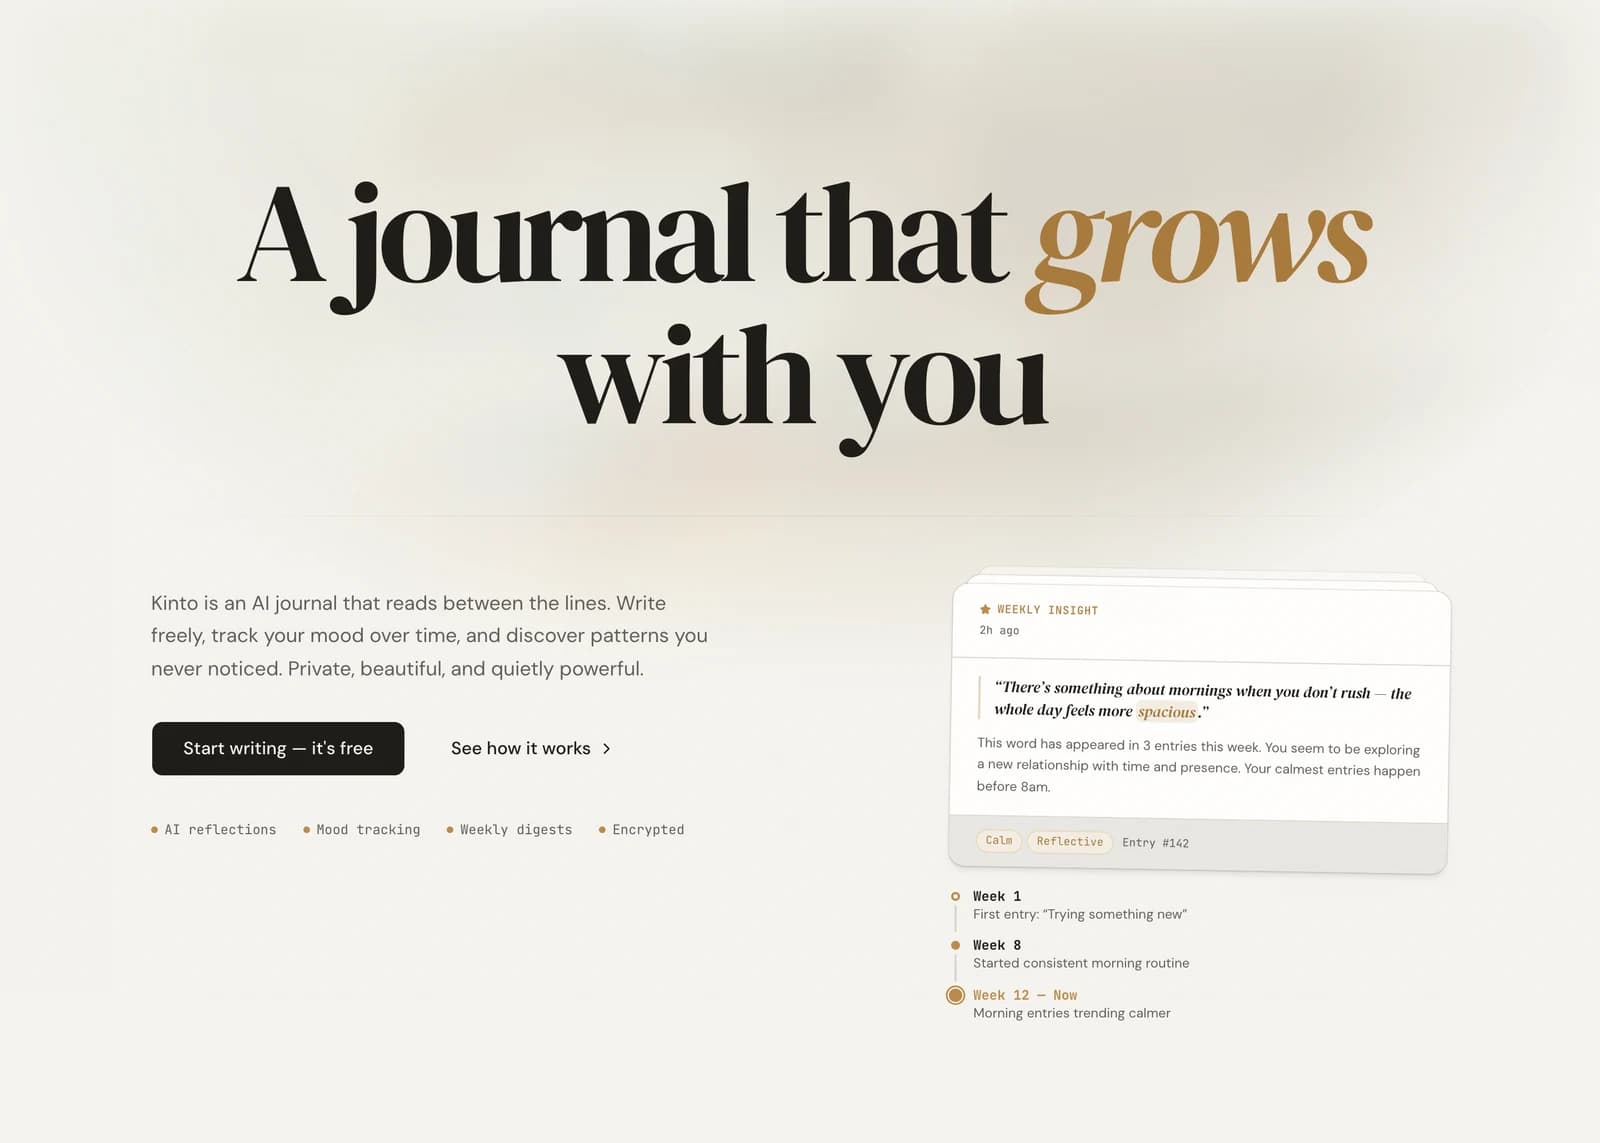
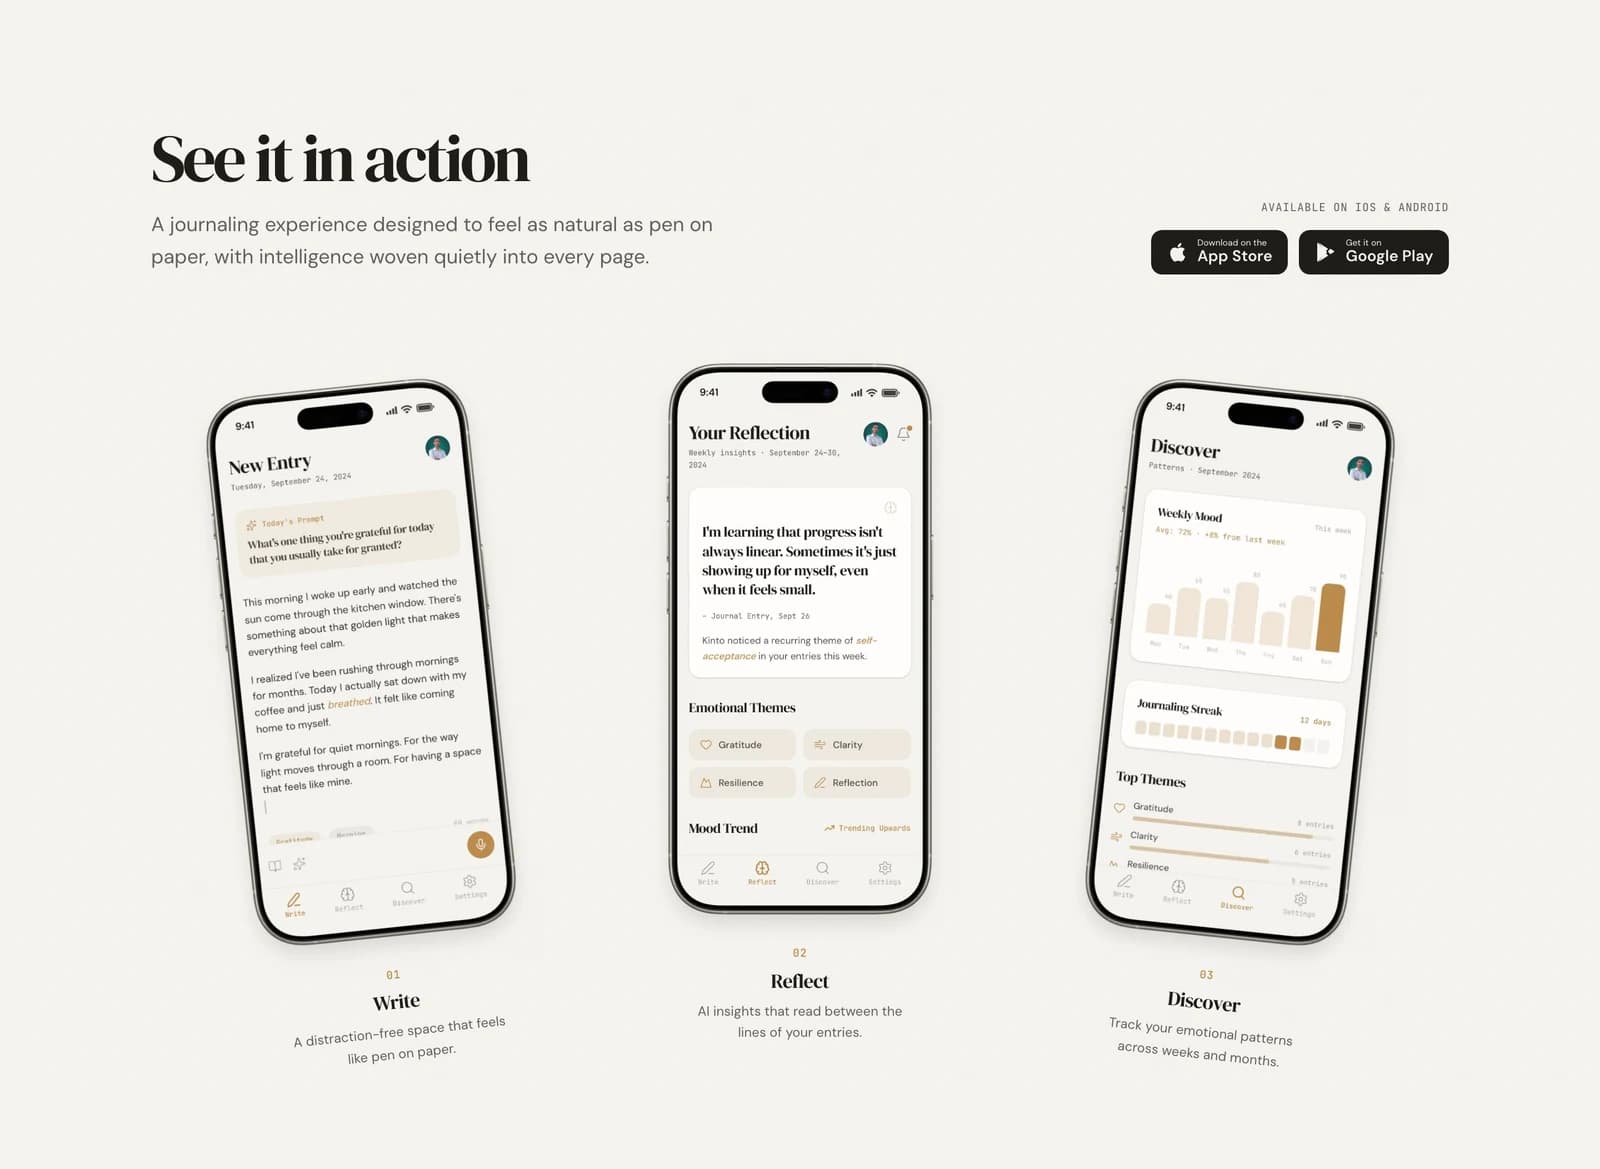
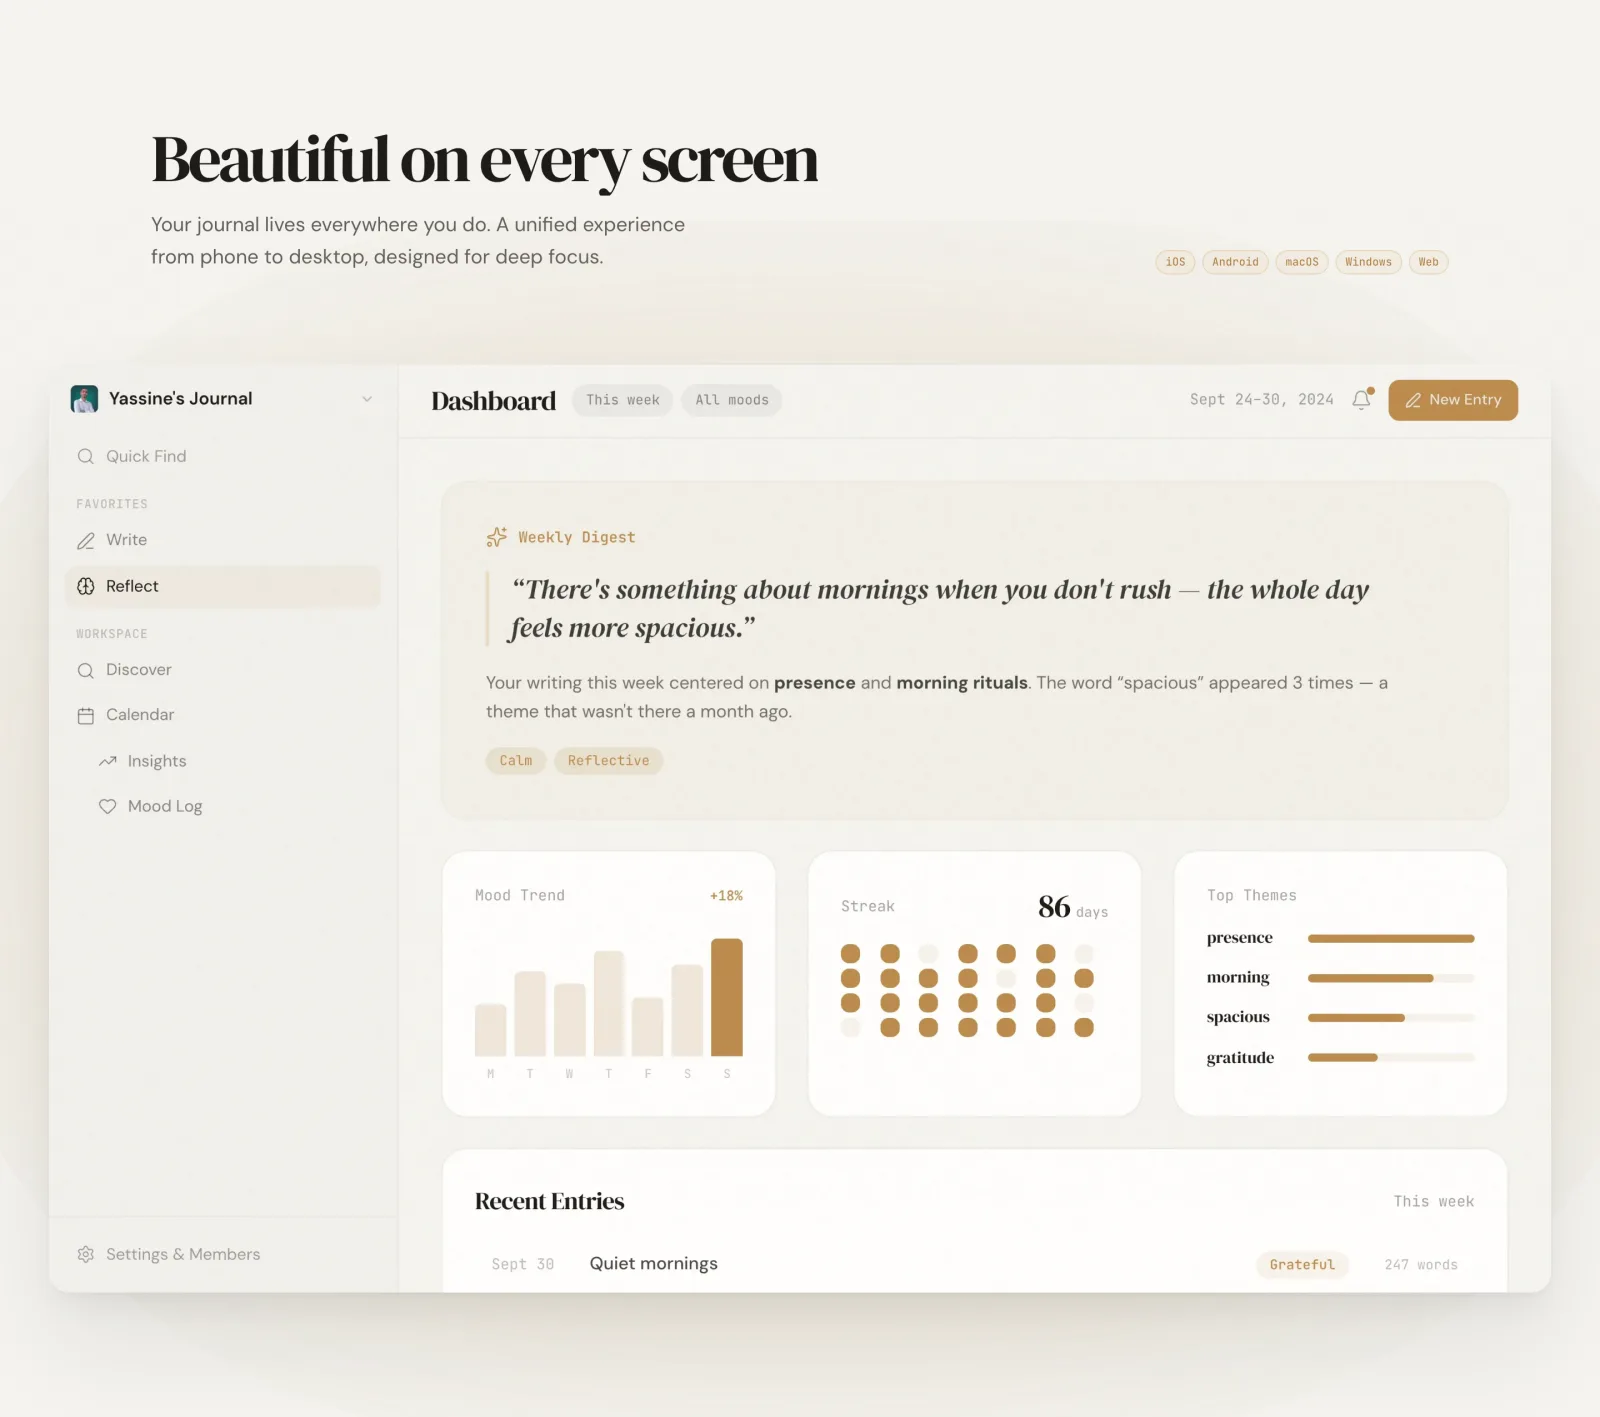
You get one image per section instead, each shown whole, exactly as the tool outputs it:
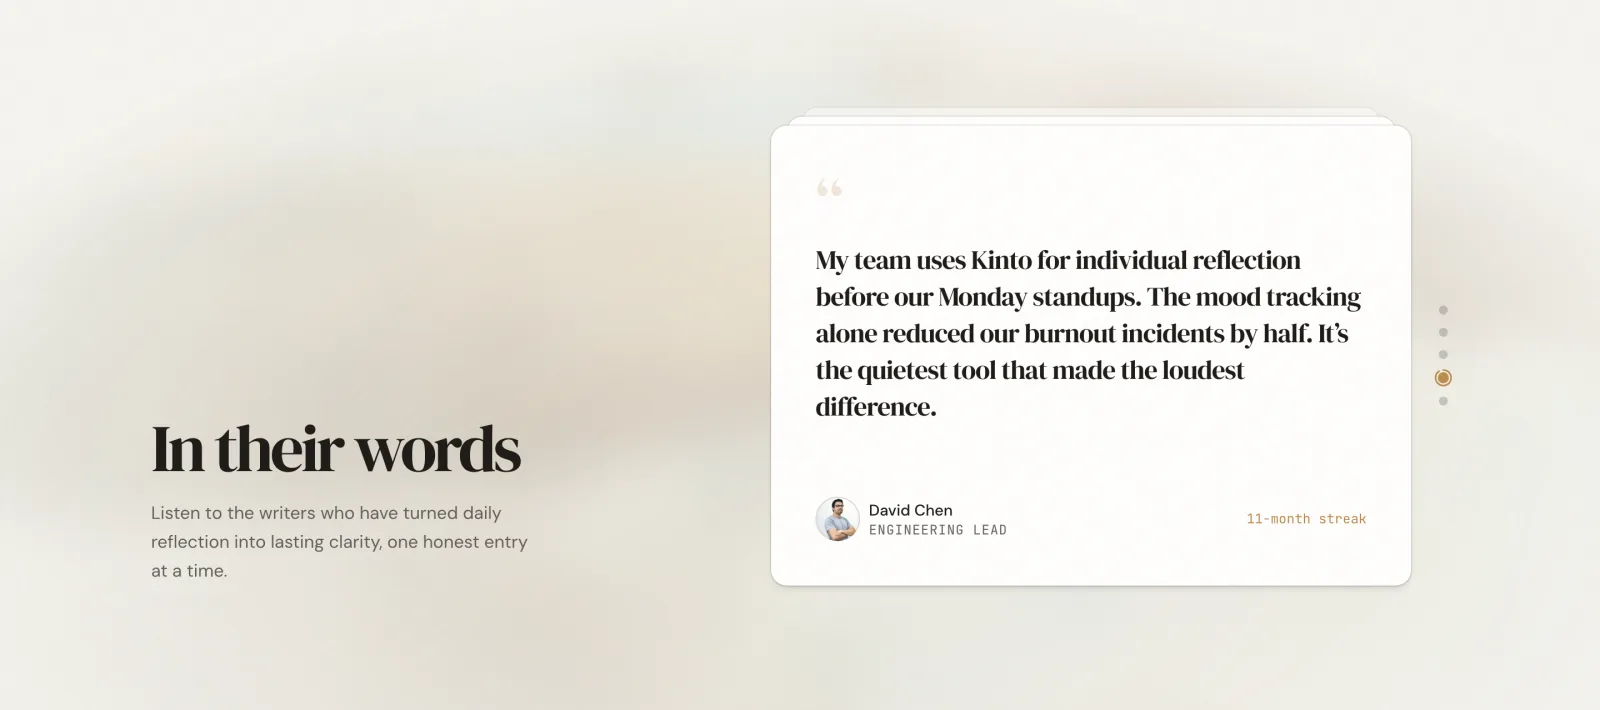
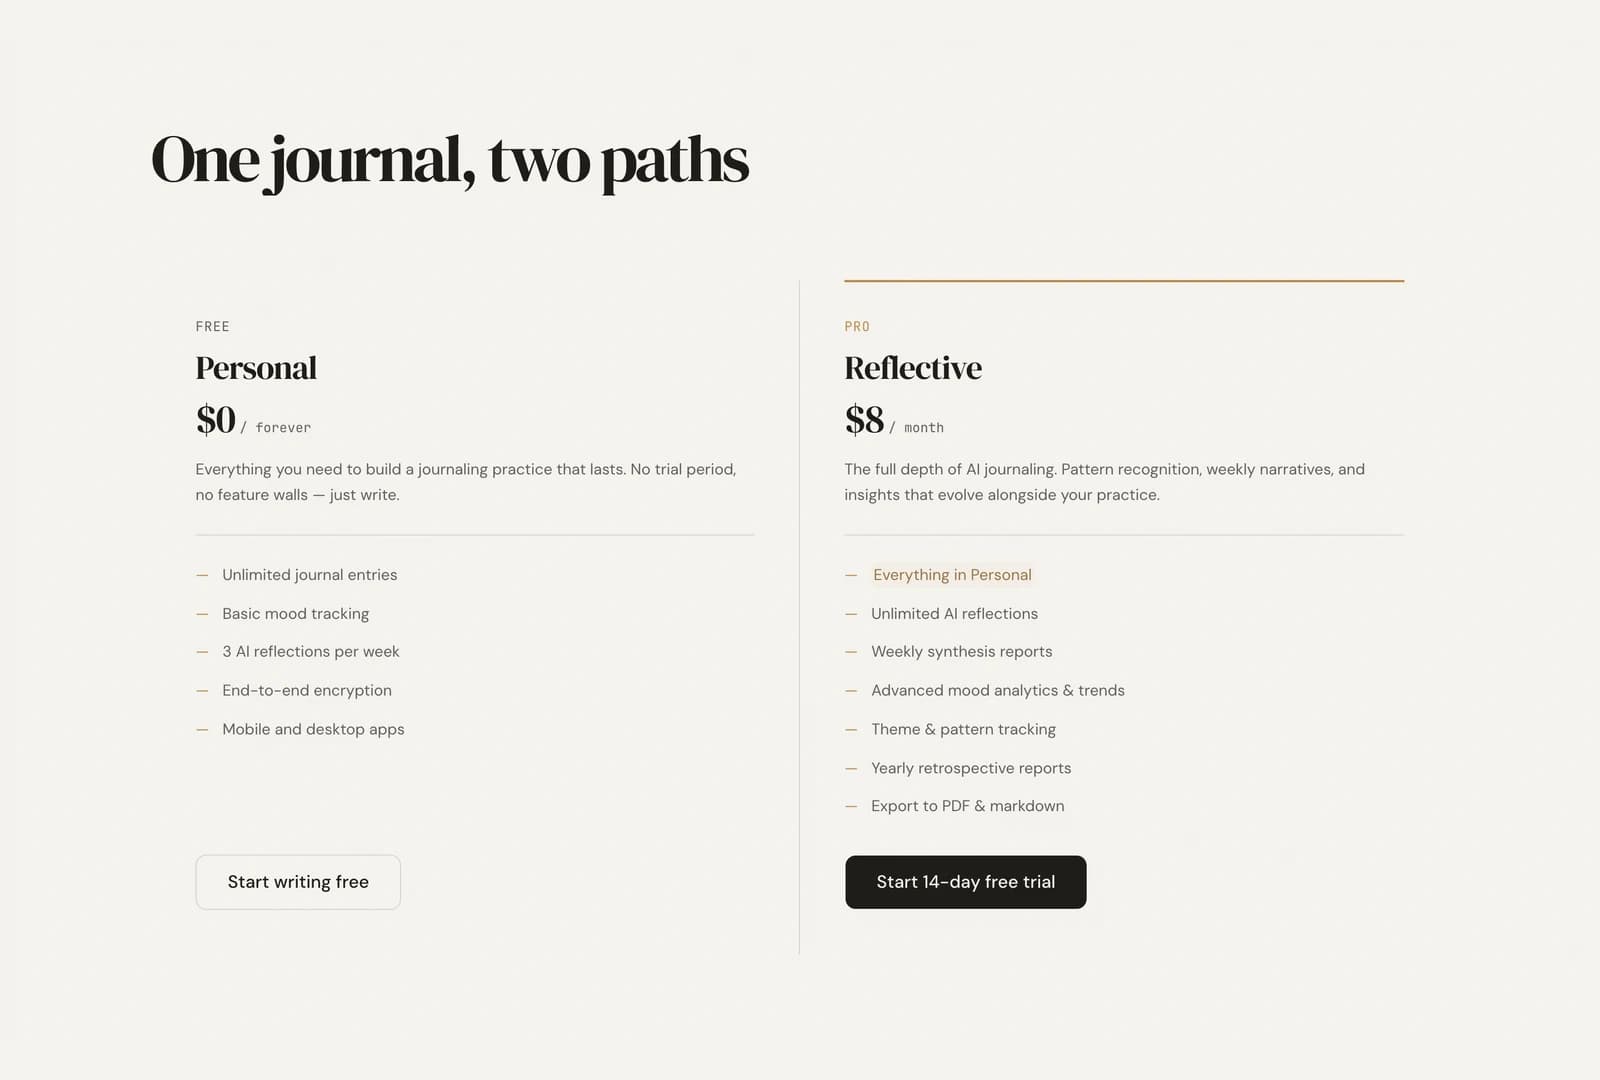
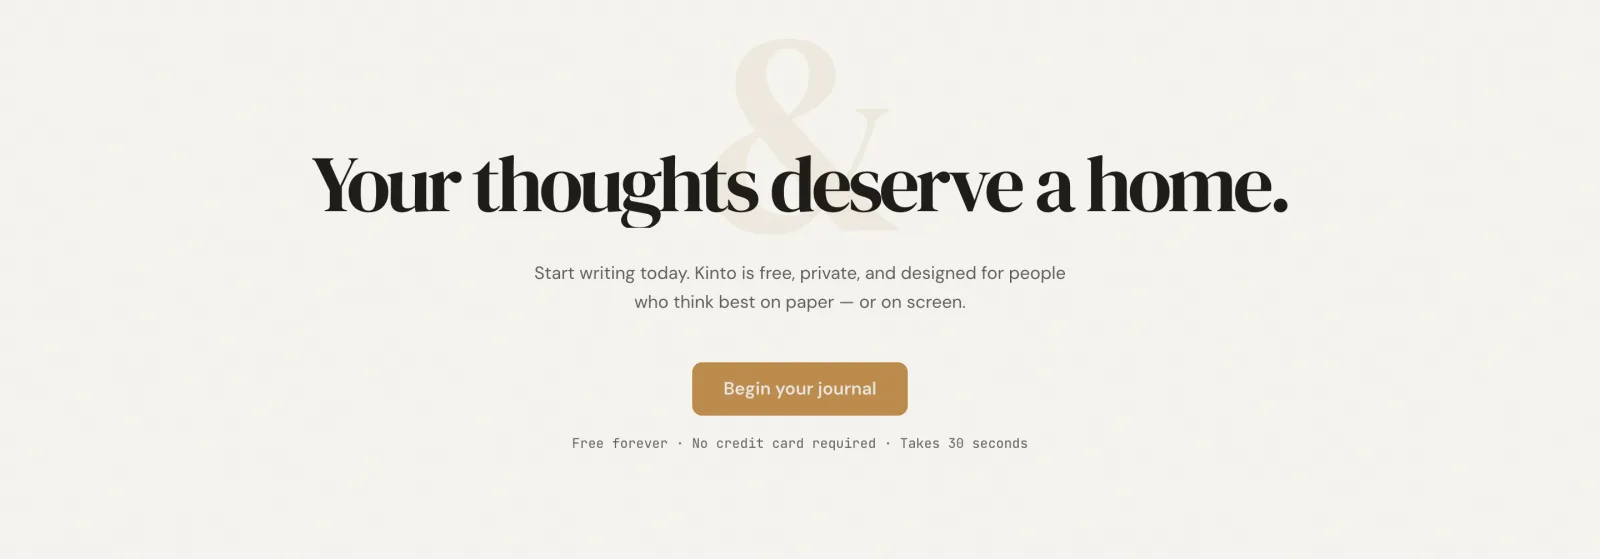
What each option does
- Detection mode
- How sections get found. The default reads semantic markup: every <section>, the direct children of <main>, and anything marked role="region" or data-section. Switch to custom selectors for sites built out of plain divs, or use Both to combine them.
- Custom selectors
- Point it at exactly what you want with CSS selectors like .hero or #pricing, which is what you'll need on a site that doesn't use semantic tags.
- Capture width
- Any viewport width from 320 to 2560 pixels, not just the preset device sizes, so you can grab a mobile layout or a wide desktop view.
- Crop and aspect ratio
- Reframe to 16:9, 9:16, 1:1, or 4:5, applied to everything at once or section by section.
- Group, remove, restore
- Captures group by website. Remove a section you don't need and bring it back later without recapturing.
- Download
- Export the whole set as a zip when it looks right. Free, no signup, no watermark, with a fair limit of five captures a minute.
If you're still deciding what to build the video in, the roundup of tools for a design portfolio video ranks five of them.
“Reelfolio is insanely good. Every detail feels sharp and thoughtfully crafted.”

Irsyad
@irsyad
“Reelfolio makes it effortless to turn our thousands of screenshots into clean, engaging X videos. I used to do this manually with Screenstudio, but Reelfolio is dramatically faster and simpler.”

Rob Austin
@ausrobdev
Then turn them into a reel
Once you have clean per-section shots you're one step from a portfolio video. Drop them into Reelfolio, pick a template, and export.
That's most of why this tool exists. Every showreel starts with someone screenshotting a website badly at eleven at night.
Read more
See all posts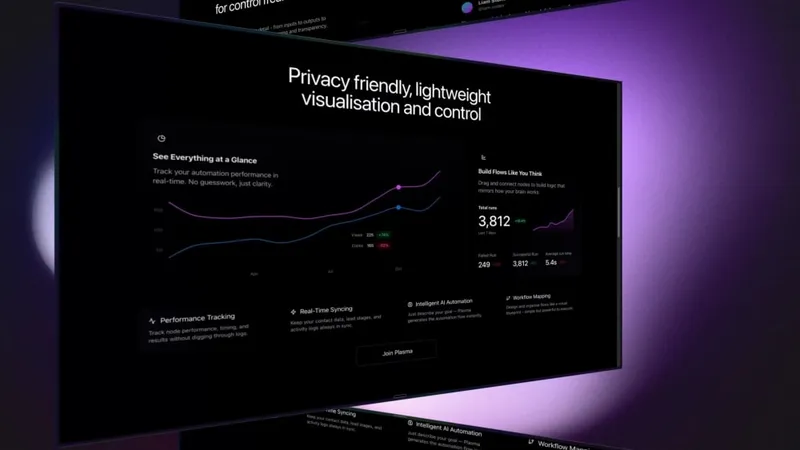
PortfolioUpdated AUG 27, 20263 min
Static screenshots are killing your portfolio. Do this instead
A flat screenshot is the easiest thing to scroll past. Turn the same shots into a short reel that actually holds attention.
ToolsAUG 27, 20264 min
The best tool for creating a design portfolio video
Five tools for turning design work into a portfolio video, what each one costs in time and money, and which to open first.


ComparisonsUpdated AUG 27, 20267 min
Reelfolio vs Jitter: which should designers use in 2026?
Jitter is a motion design editor. Reelfolio turns your screenshots into a finished reel without one. Comparison table, honest pros and cons, and a clear verdict inside.
Pick a template. Watch it run.
Preview the motion, then send your screenshots to Reelfolio and ship the reel in about a minute.